How to Submit Records automatically and Call Approval process using Flow. Please Follow these steps to call the Approval process and Record sent for approval.
1: Create an Approval Process.
- Quick Find Box -> Search Approval Process -> Click Approval Process.
- Select Object.
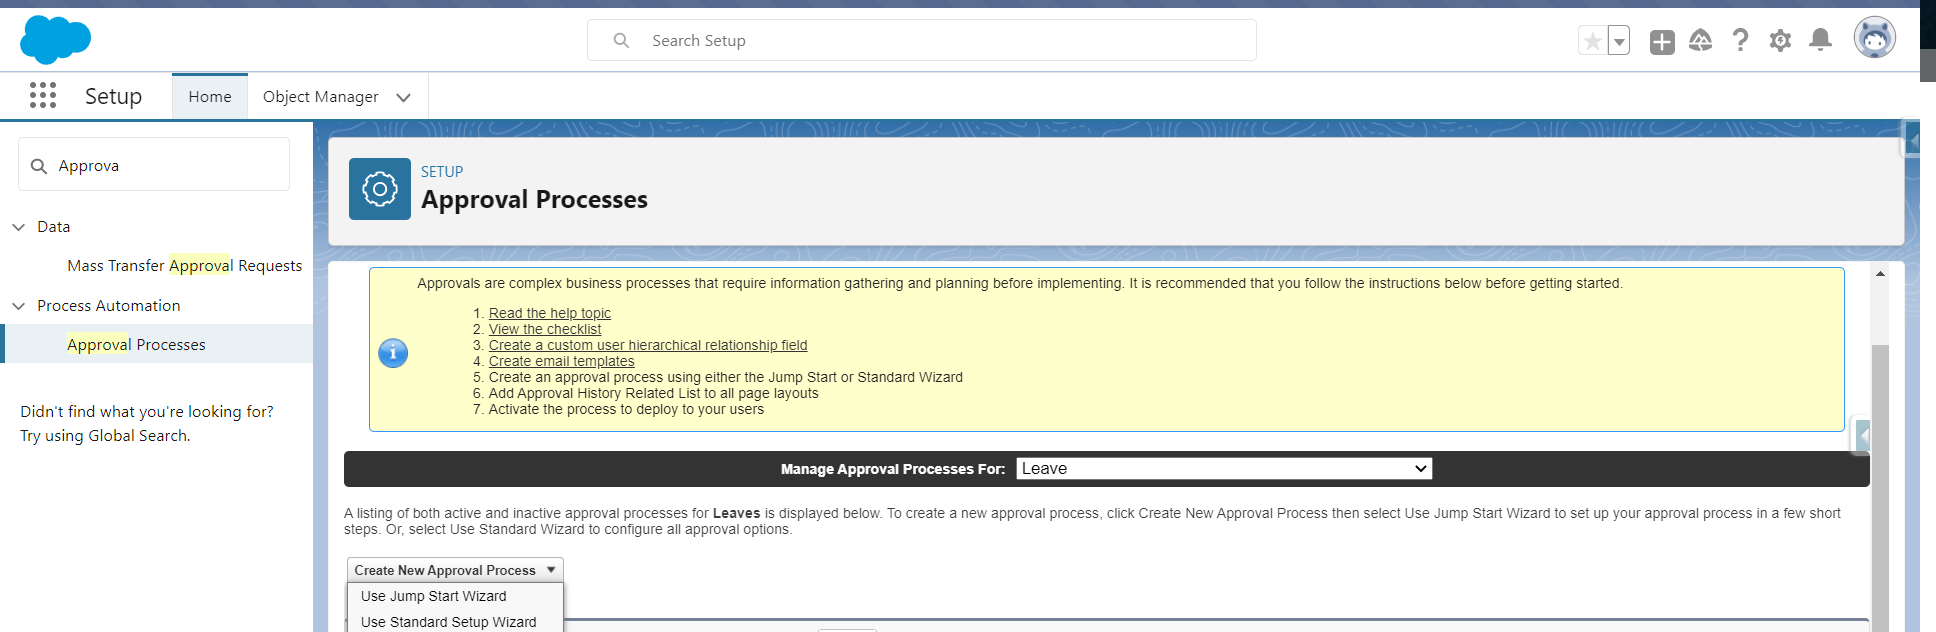
- Click New Approval Process.
- Click Use Standard Setup Wizard.
- Enter Process Name
- Enter a Unique Name.
- Click Next
- Specify Entry Criteria:
- Status Equal Submitted.
- Click Next
- Select Fields to Display on Approval Page Layout
- Click Next
- Initial Submitter
- Select Record Owner
Note**: Everyone Can add Email Alert, and Field Update according to your Requirements in the Initial Submitter Action, Final Approval Actions, or Final Rejected Actions.
2: Quick Find Box -> Search Flows -> Click on Flows.
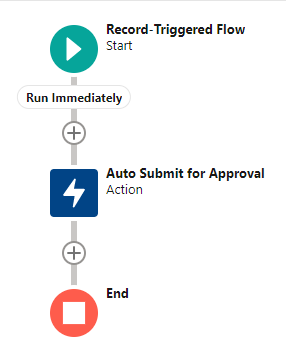
- Click the New Flow Button.
- Flow Type: Record – Triggered Flow
- Select Object.
- Configure Trigger
- Trigger the Flow When:
- When Record is Created
- Trigger the Flow When:
- Set Entry Conditions:
- Condition Requirements
- Status__c : Submitted
- Condition Requirements
- Click Save.
3: Click the (+) Icon.
4: Click Action.
- Search Submit for Approval in Action Name.
- Label Name – Auto Submit for Approval
- API Name – Auto_Submit_for_Approval
- Record Id: {!$Record.Id}
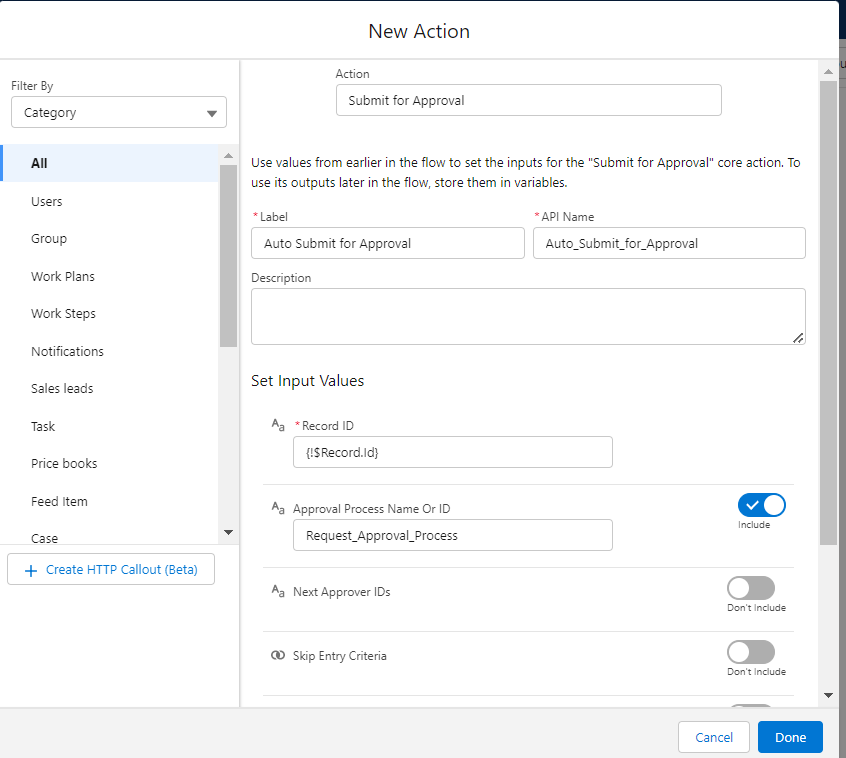
- Click Done.
- Click Save.
- Label:
- API Name :
- Click Activate.